Nuxt.js使用quill編輯器上傳圖片及直接編輯HTML
如果你還沒看過如何部署Nuxt專案,請先閱讀
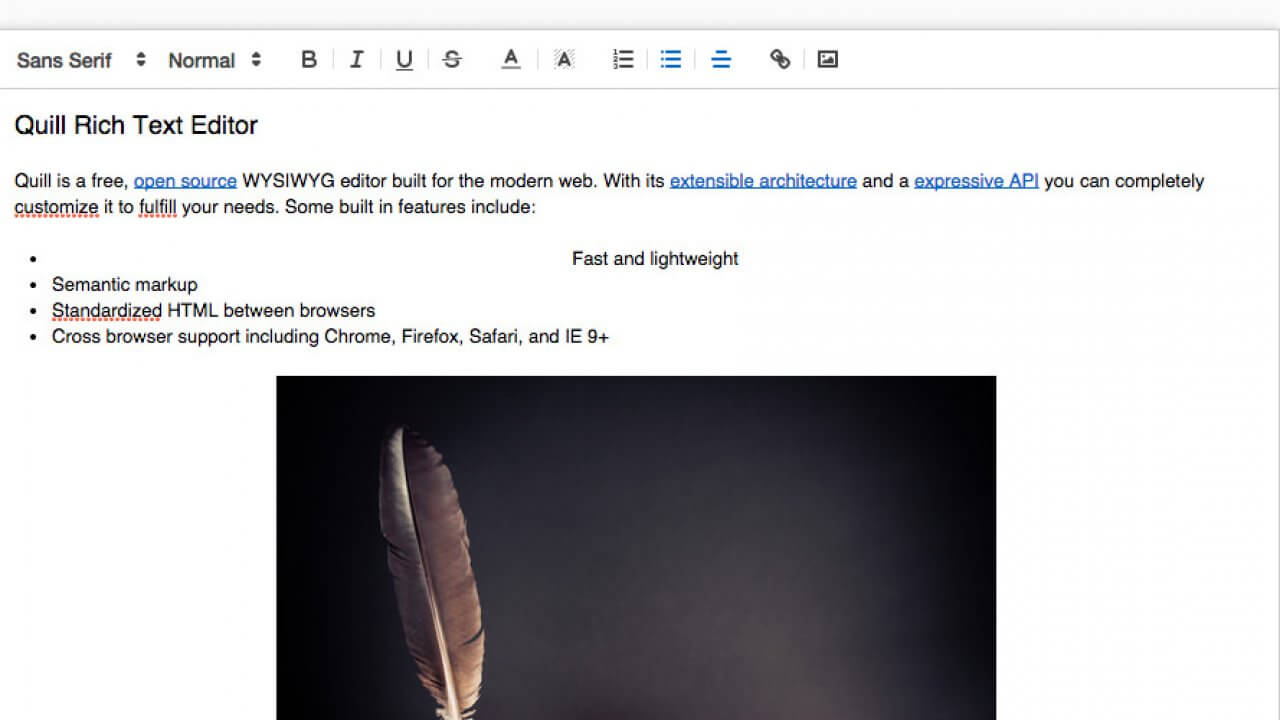
本篇主要介紹如何使用vue-quill-editor文字編輯器,並且開啟獨立上傳圖片不使用內建的將圖片直接壓成base64寫入html中,主要是因為這種方法會讓html異常的肥大,另一方面也會處理如何開啟直接編輯html的功能。
參考文件 :
https://www.itread01.com/content/1543370884.html
https://github.com/benwinding/quill-html-edit-button
https://www.leixuesong.com/3860
安裝quill editor
安裝方式其實依照文件中照打就可以完成不難
1. 安裝vue-quill-editor
|
1 |
npm install vue-quill-editor --save |
2. 引入vue plugin到nuxt專案中
在plugin資料夾中建立 : vue-quill-editor.js,內容如下
|
1 2 3 4 |
import Vue from 'vue' import VueQuillEditor from 'vue-quill-editor/dist/ssr' Vue.use(VueQuillEditor) |
3. 編輯nuxt.conf.js,引入該plugin以及CSS檔案
|
1 2 3 4 5 6 7 8 |
css: [ 'quill/dist/quill.snow.css', 'quill/dist/quill.bubble.css', 'quill/dist/quill.core.css' ], plugins: [ { src: "~plugins/vue-quill-editor.js", ssr: false }, ], |
基本上到此已經安裝完畢,此時在component或page中的template加入以下
|
1 2 3 4 5 6 |
<div class="quill-editor" :content="content" v-quill:myQuillEditor="editorOption" @change="onEditorChange($event)" style="height: 250px;"> </div> |
用來定義編輯器該出現的位置,關鍵在class=”quill-editor”,
v-quill: 定義工具列該出現哪些,詳細可以參考官網說明,範例如下
@change : 定義當內容異動時該如何處理,這邊我會定義一個method讓他把html存回data
|
1 2 3 4 5 6 7 8 9 10 11 12 13 14 15 16 17 18 19 20 21 22 23 24 25 26 |
editorOption = { bounds: 'app', placeholder: '', modules: { toolbar: { container: [ ['bold', 'italic', 'underline', 'strike'], ['blockquote', 'code-block'], [{ 'header': 1 }, { 'header': 2 }], [{ 'list': 'ordered'}, { 'list': 'bullet' }], [{ 'script': 'sub'}, { 'script': 'super' }], [{ 'indent': '-1'}, { 'indent': '+1' }], [{ 'direction': 'rtl' }], [{ 'size': ['small', false, 'large', 'huge'] }], [{ 'header': [1, 2, 3, 4, 5, 6, false] }], [{ 'color': [] }, { 'background': [] }], [{ 'font': [] }], [{ 'align': [] }], ['clean'], ['image'] ] } } } |
|
1 2 3 4 5 |
methods:{ onEditorChange({editor,html,text}){ this.editorContent = html } } |
完整範例大概會像這樣子
|
1 2 3 4 5 6 7 8 9 10 11 12 13 14 15 16 17 18 19 20 21 22 23 24 25 26 27 28 29 30 31 32 33 34 35 36 37 38 39 40 41 42 |
export default { data () { return { editorOption: { } } }, beforeMount () { const VueQuillEditor = require('vue-quill-editor/dist/ssr'); const Quill = require('quill'); this.editorOption = { bounds: 'app', placeholder: '', modules: { toolbar: { container: [ ['bold', 'italic', 'underline', 'strike'], ['blockquote', 'code-block'], [{ 'header': 1 }, { 'header': 2 }], [{ 'list': 'ordered'}, { 'list': 'bullet' }], [{ 'script': 'sub'}, { 'script': 'super' }], [{ 'indent': '-1'}, { 'indent': '+1' }], [{ 'direction': 'rtl' }], [{ 'size': ['small', false, 'large', 'huge'] }], [{ 'header': [1, 2, 3, 4, 5, 6, false] }], [{ 'color': [] }, { 'background': [] }], [{ 'font': [] }], [{ 'align': [] }], ['clean'], ['image'] ] } } } Vue.use(VueQuillEditor) }, methods:{ onEditorChange({editor,html,text}){ this.editorContent = html } } } |
安裝圖片上傳套件
因為預設上傳圖片會將圖片直接壓成base64寫入html中,這樣會使存下來的html超級長,所以我還是希望是上傳到伺服器後,html中只保留url即可
1.安裝quill-image-extend-module
|
1 |
npm install quill-image-extend-module --save-dev |
2. 接著修改一下剛剛寫在beforMount的內容
|
1 2 3 4 5 6 7 8 9 10 11 12 13 14 15 16 17 18 19 20 21 22 23 24 25 26 27 28 29 30 31 32 33 34 35 36 37 38 39 40 41 42 43 44 |
beforeMount () { const VueQuillEditor = require('vue-quill-editor/dist/ssr'); const Quill = require('quill'); const {ImageExtend, QuillWatch} = require('quill-image-extend-module'); this.editorOption = { bounds: 'app', placeholder: '', modules: { ImageExtend: { loading: true, name: 'file', // 後端接收的檔名稱 action: process.env.MIX_API_URL+'/api/fileUpload', // 後端接收檔案api response: (res) => { return res.data.url // 此處返回的值一定要直接是後端回饋的圖片在伺服器的儲存路徑如:/images/xxx.jpg } }, toolbar: { handlers: { 'image': function () { QuillWatch.emit(this.quill.id) } }, container: [ ['bold', 'italic', 'underline', 'strike'], ['blockquote', 'code-block'], [{ 'header': 1 }, { 'header': 2 }], [{ 'list': 'ordered'}, { 'list': 'bullet' }], [{ 'script': 'sub'}, { 'script': 'super' }], [{ 'indent': '-1'}, { 'indent': '+1' }], [{ 'direction': 'rtl' }], [{ 'size': ['small', false, 'large', 'huge'] }], [{ 'header': [1, 2, 3, 4, 5, 6, false] }], [{ 'color': [] }, { 'background': [] }], [{ 'font': [] }], [{ 'align': [] }], ['clean'], ['image'] ] } } } Quill.register('modules/ImageExtend', ImageExtend); Vue.use(VueQuillEditor) }, |
其中定義在modules ImageExtend的參數
name 是傳送到後端伺服器接收到變數名稱
action是後端伺服器接收檔案的API URL,這邊我是將伺服器URL定義在.env中,後面接上已經設計好的URL位置
response中的return值必須是這張圖片存在伺服器上的URL,所以必須注意API回傳中是不是有包含圖片URL
這樣子,點選圖片上傳後就回直接上傳到伺服器上,並且將<img src=”URL” /> 寫入html中。
安裝編輯html套件
quill-editor功能中並不包含可以直接編輯html的功能,但是這個功能卻是很常用上的,因此我們透過其他套件來完成
1. 安裝quill-html-edit-button
|
1 |
npm install quill-html-edit-button |
2. 接著來改一下剛剛beforMont中的內容
|
1 2 3 4 5 6 7 8 9 10 11 12 13 14 15 16 17 18 19 20 21 22 23 24 25 26 27 28 29 30 31 32 33 34 35 36 37 38 39 40 41 42 43 44 45 46 47 48 |
beforeMount () { const VueQuillEditor = require('vue-quill-editor/dist/ssr'); const Quill = require('quill'); const {ImageExtend, QuillWatch} = require('quill-image-extend-module'); const {htmlEditButton} = require('quill-html-edit-button'); this.editorOption = { bounds: 'app', placeholder: '', modules: { ImageExtend: { loading: true, name: 'file', // 後端接收的檔名稱 action: process.env.MIX_API_URL+'/api/fileUpload', // 後端接收檔案api response: (res) => { return res.data.url // 此處返回的值一定要直接是後端回饋的圖片在伺服器的儲存路徑如:/images/xxx.jpg } }, htmlEditButton: {buttonHTML: "<span class='ql-header ql-picker' style='margin-left:-35px;margin-top: -2px'>HTML</span>"}, toolbar: { handlers: { 'image': function () { QuillWatch.emit(this.quill.id) } }, container: [ ['bold', 'italic', 'underline', 'strike'], ['blockquote', 'code-block'], [{ 'header': 1 }, { 'header': 2 }], [{ 'list': 'ordered'}, { 'list': 'bullet' }], [{ 'script': 'sub'}, { 'script': 'super' }], [{ 'indent': '-1'}, { 'indent': '+1' }], [{ 'direction': 'rtl' }], [{ 'size': ['small', false, 'large', 'huge'] }], [{ 'header': [1, 2, 3, 4, 5, 6, false] }], [{ 'color': [] }, { 'background': [] }], [{ 'font': [] }], [{ 'align': [] }], ['clean'], ['image'] ] } } } Quill.register('modules/ImageExtend', ImageExtend); Quill.register('modules/htmlEditButton', htmlEditButton); window.Quill = Quill Vue.use(VueQuillEditor) }, |
兩個地方特別需要注意
1.一定要加入這行,不然nuxt會丟錯誤訊息
|
1 |
window.Quill = Quill |
2.顯示在toolbar上的按鈕在這邊定義
|
1 |
htmlEditButton: {buttonHTML: "<span class='ql-header ql-picker' style='margin-left:-35px;margin-top: -2px'>HTML</span>"} |
github上面提供的範例實際跑出來會有點歪掉,我猜想是因為quill-editor經過改版後每個按鈕的寬度有重新定義過,所以這邊我自己加了class以及margin讓畫面好看些。

